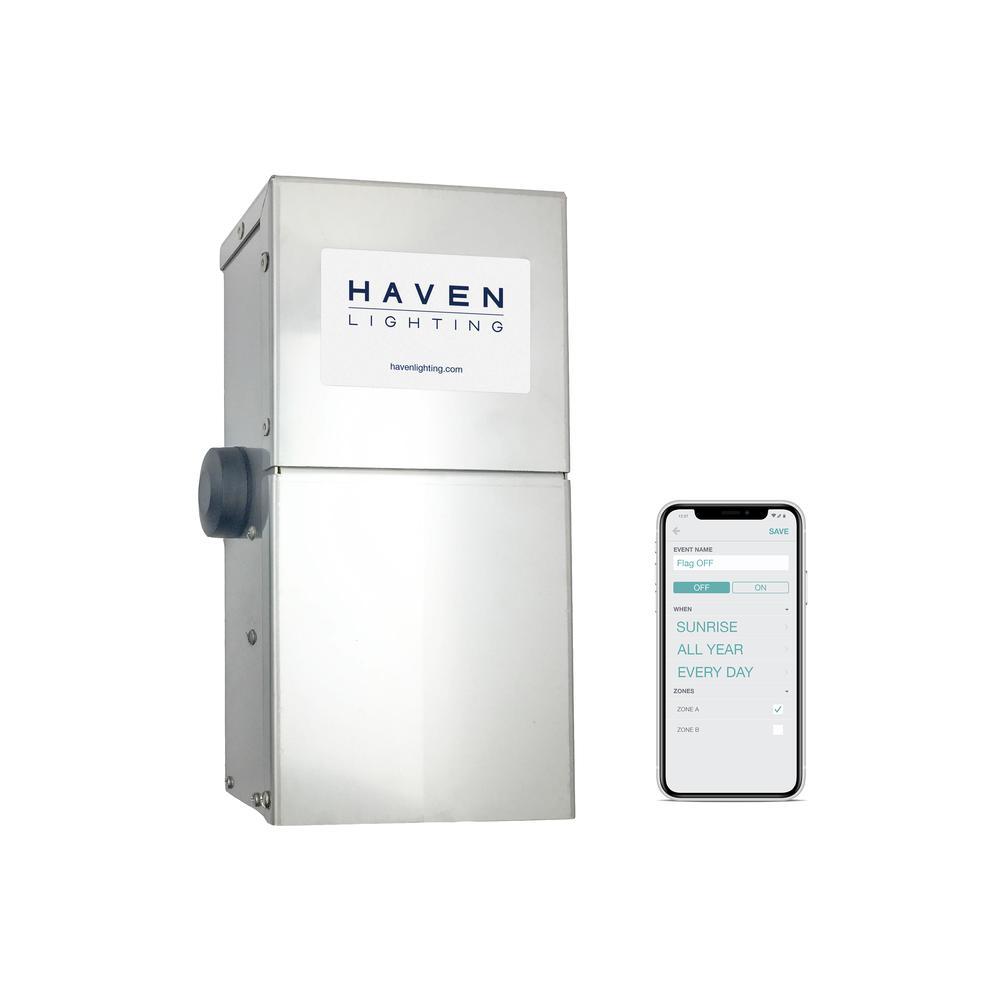


Elevate your home's outdoor beauty, security, and ambiance with Haven Lighting's premium low voltage (12V) LED landscape lighting. Designed for easy DIY installation, our energy-efficient low voltage lights reduce electric risk while lowering energy costs by up to 85%. Perfect for illuminating pathways, gardens, and outdoor living spaces, our durable fixtures create a welcoming glow that lasts all evening. Backed by our commitment to quality, our low voltage lighting kits and transformers ensure long-lasting performance and peace of mind. Order today to transform your landscape!


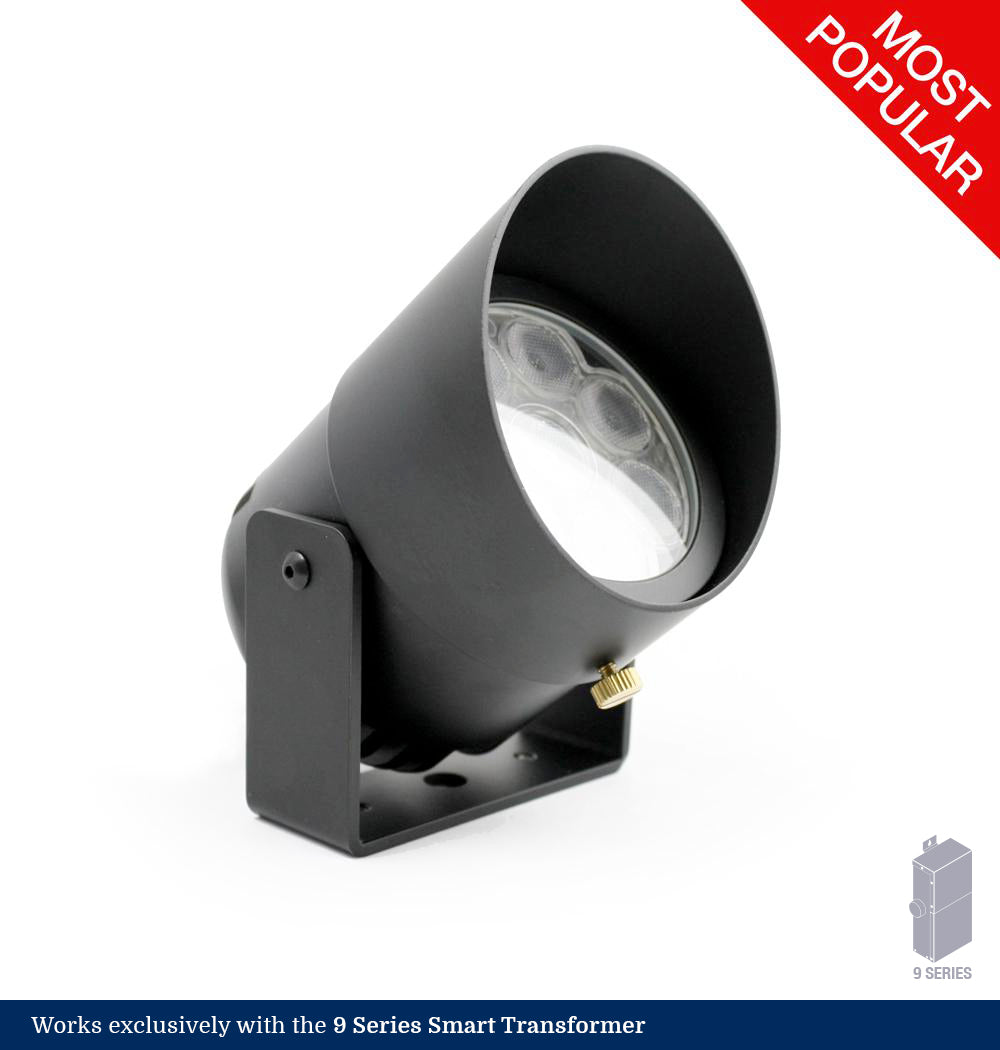
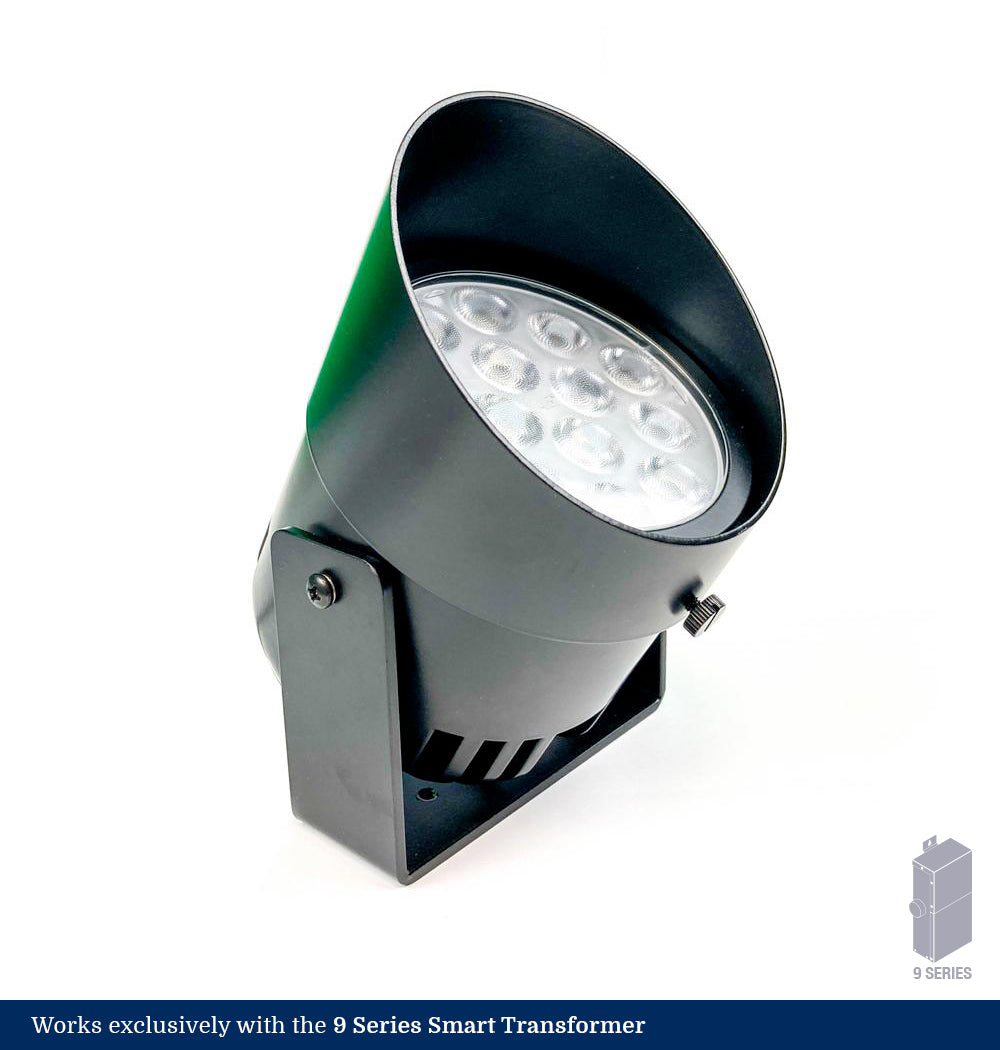
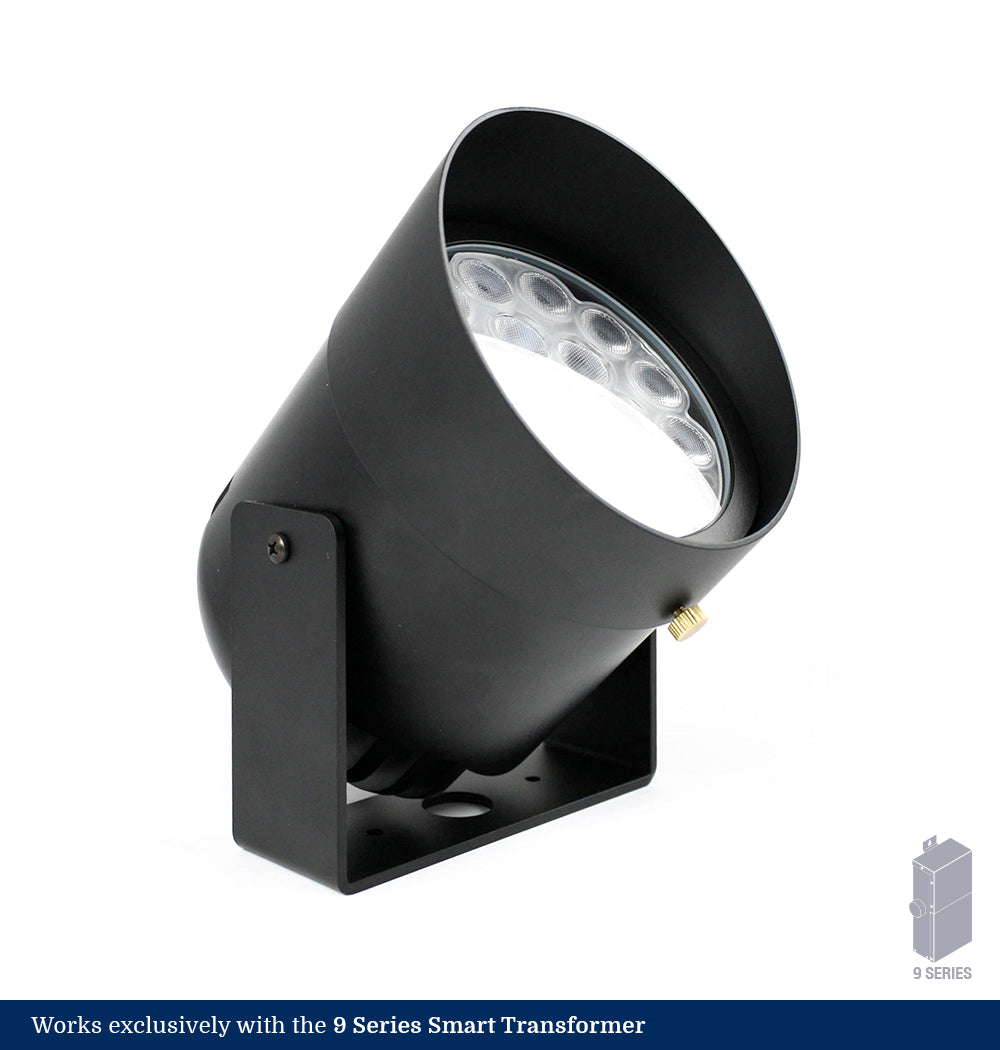
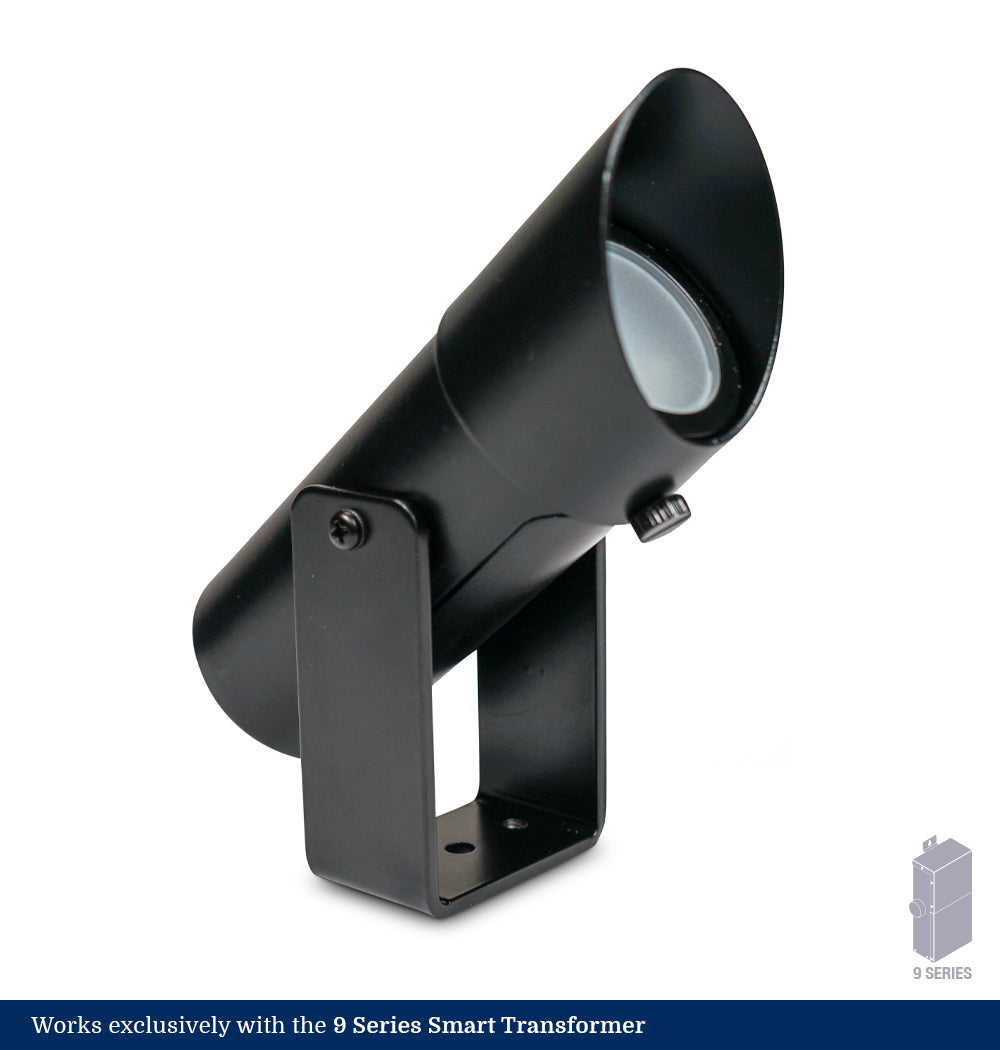
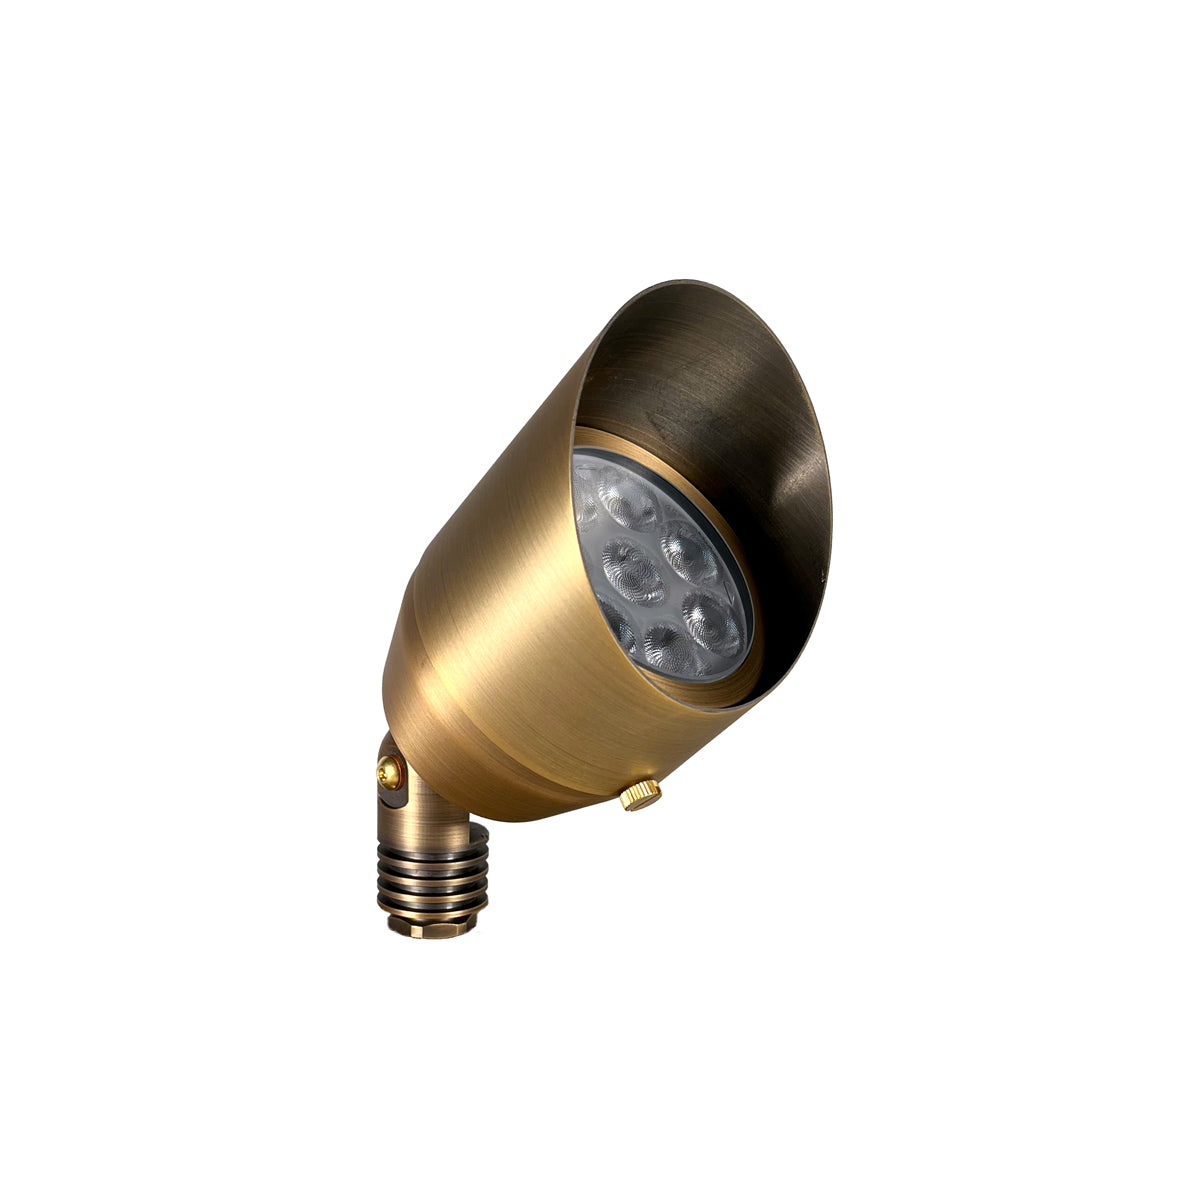
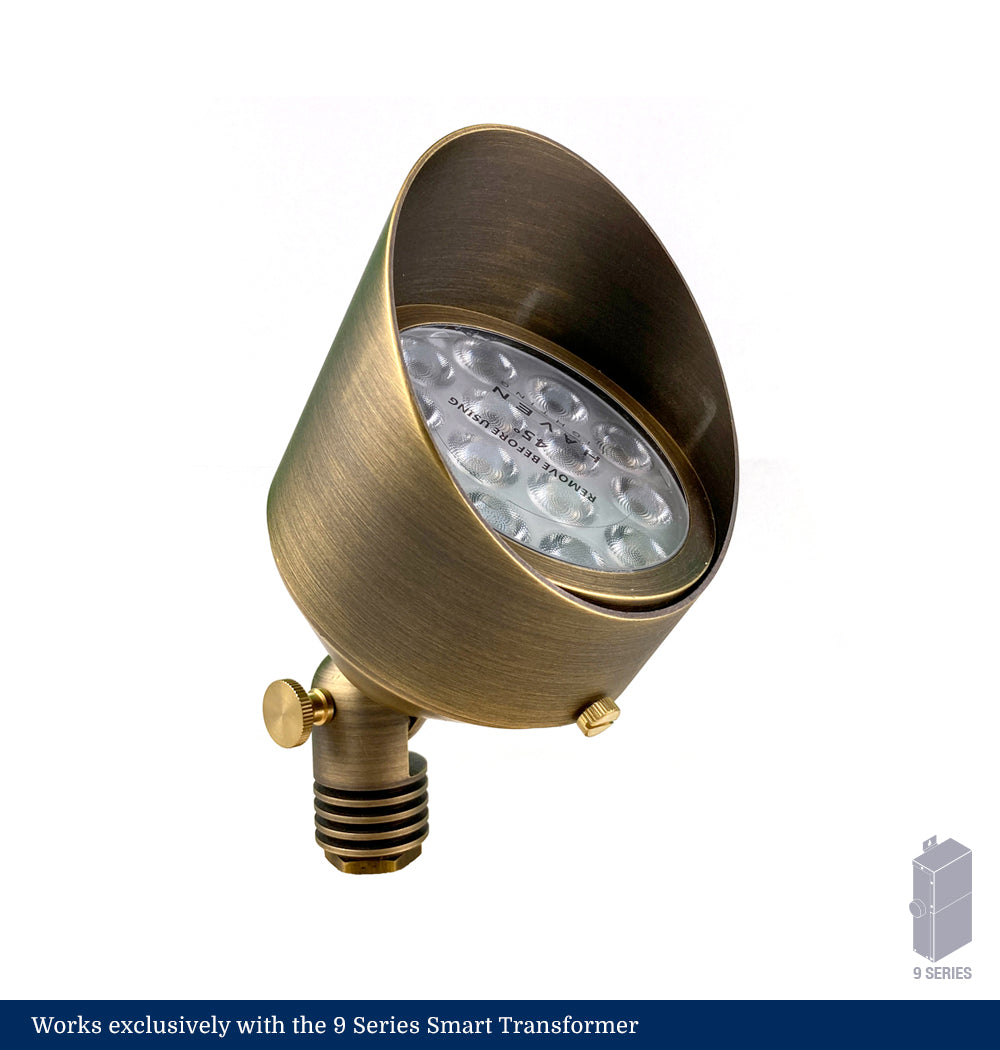
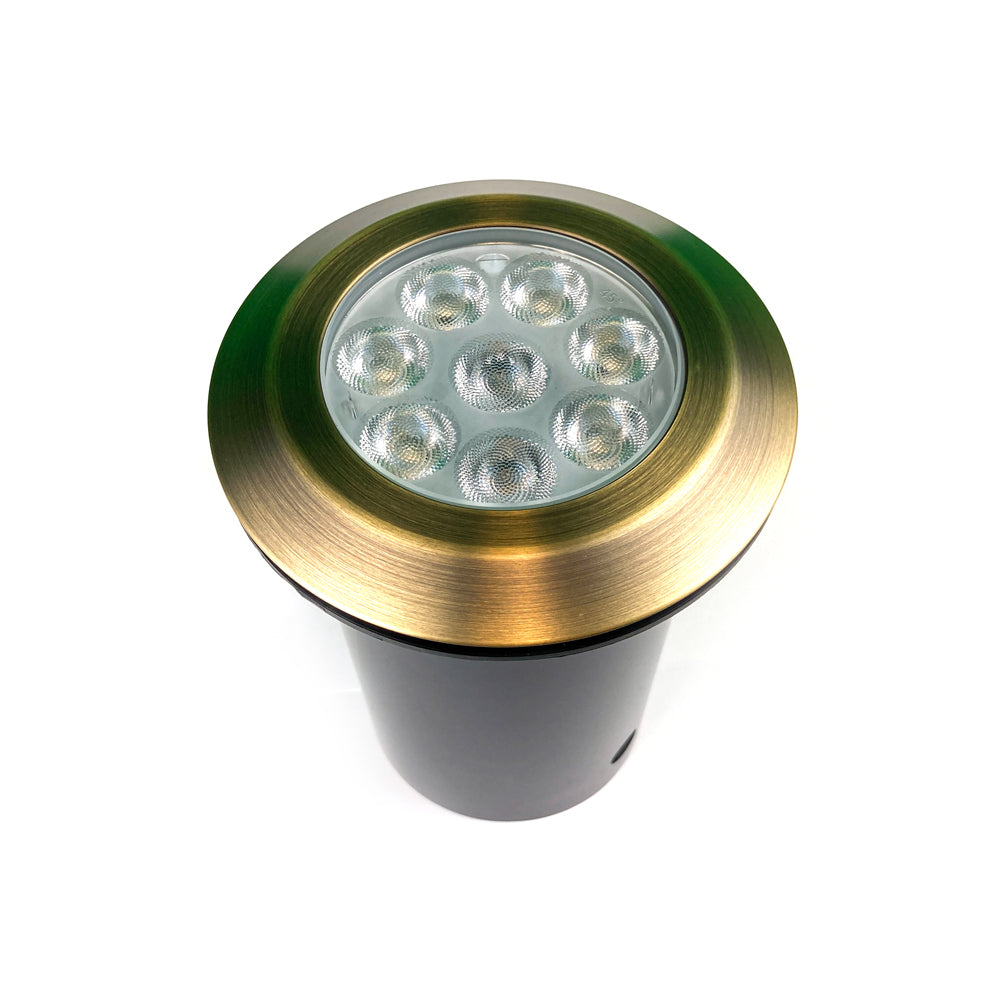
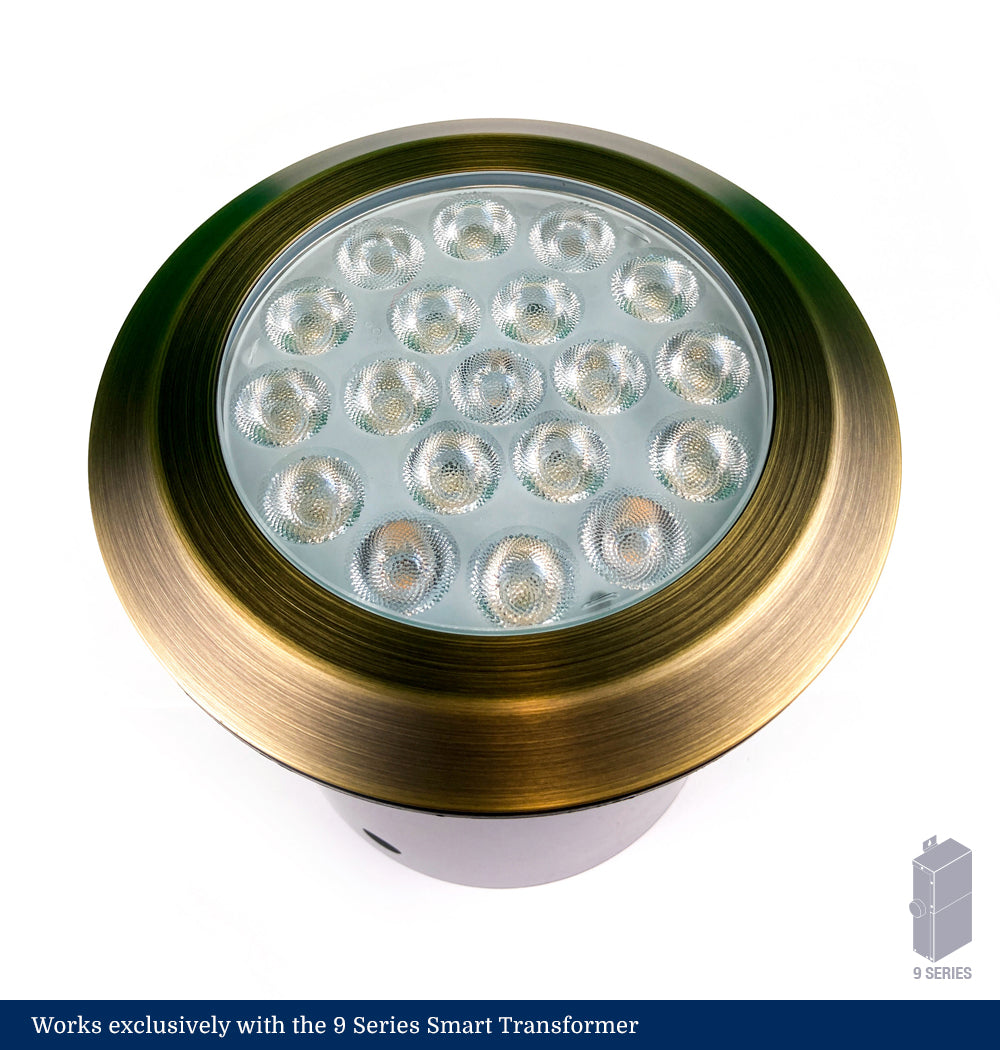
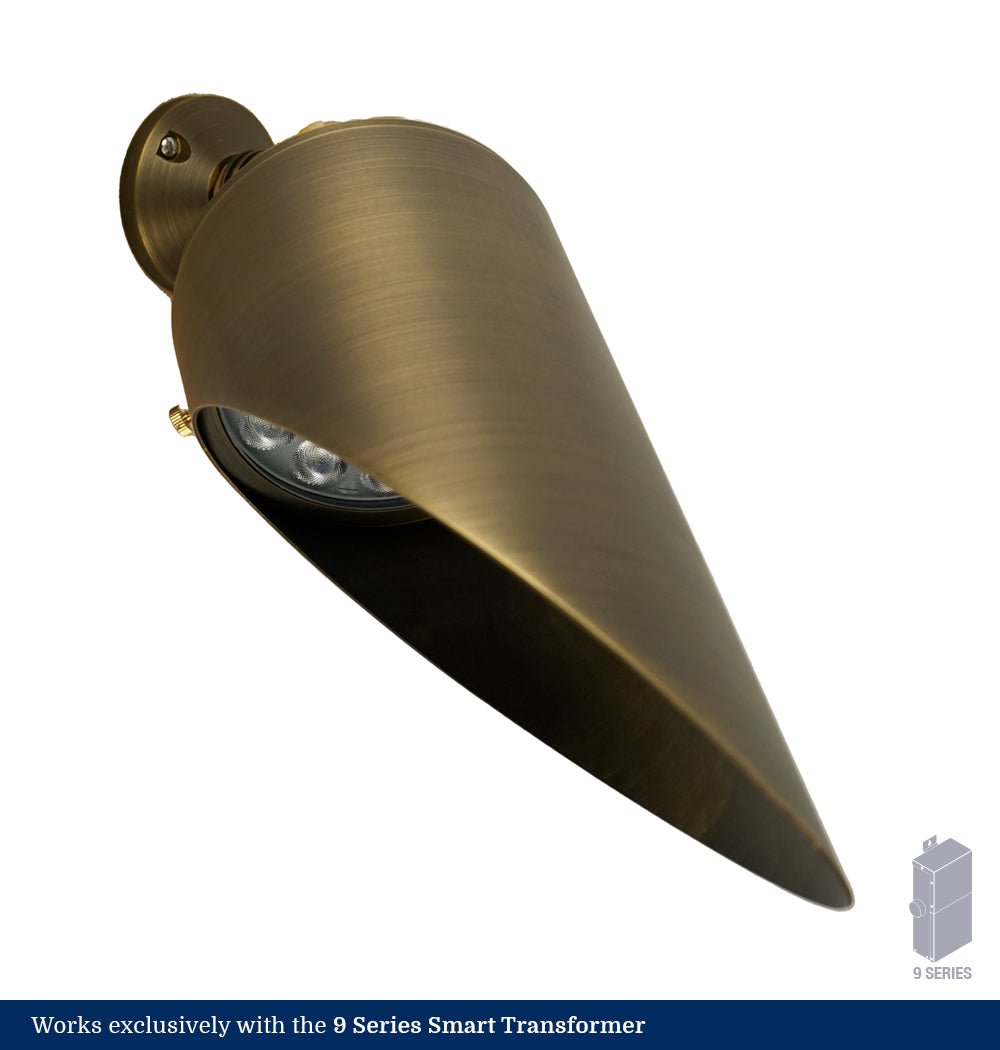
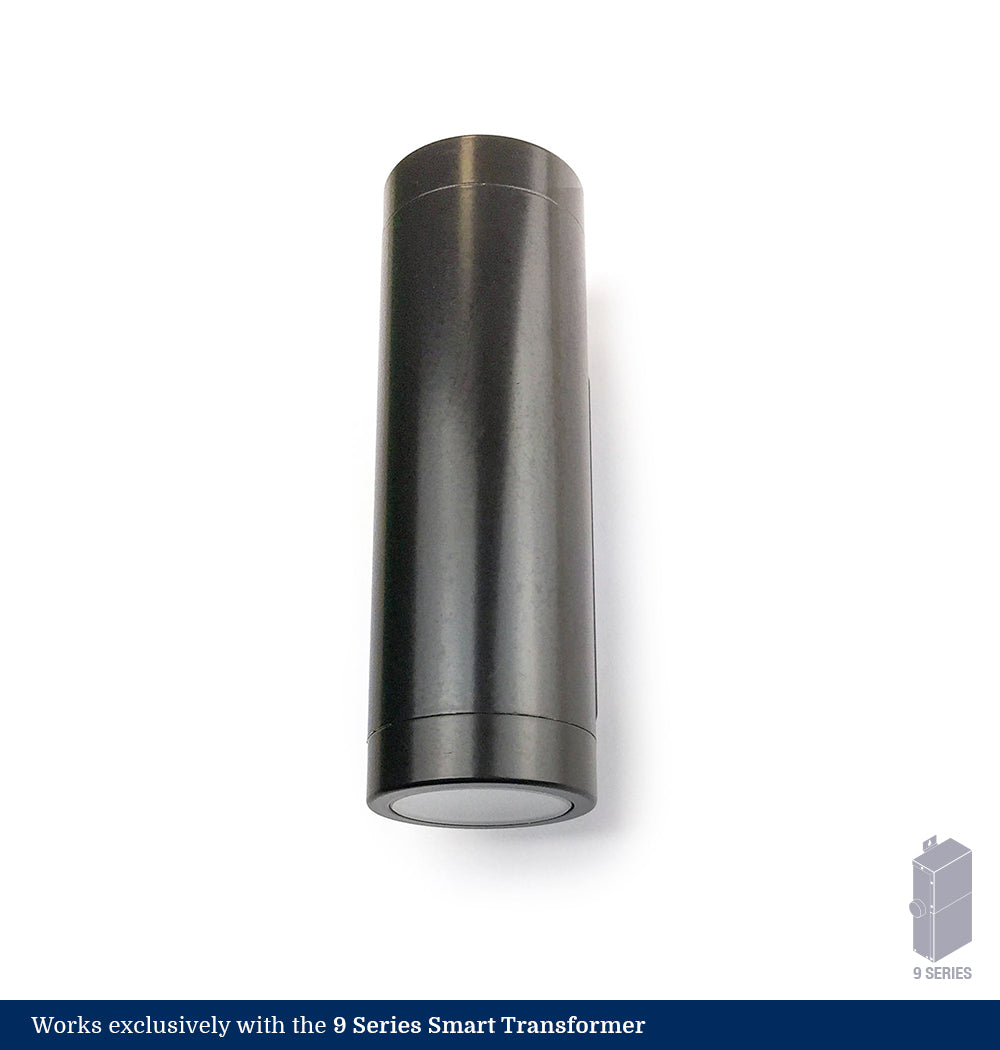
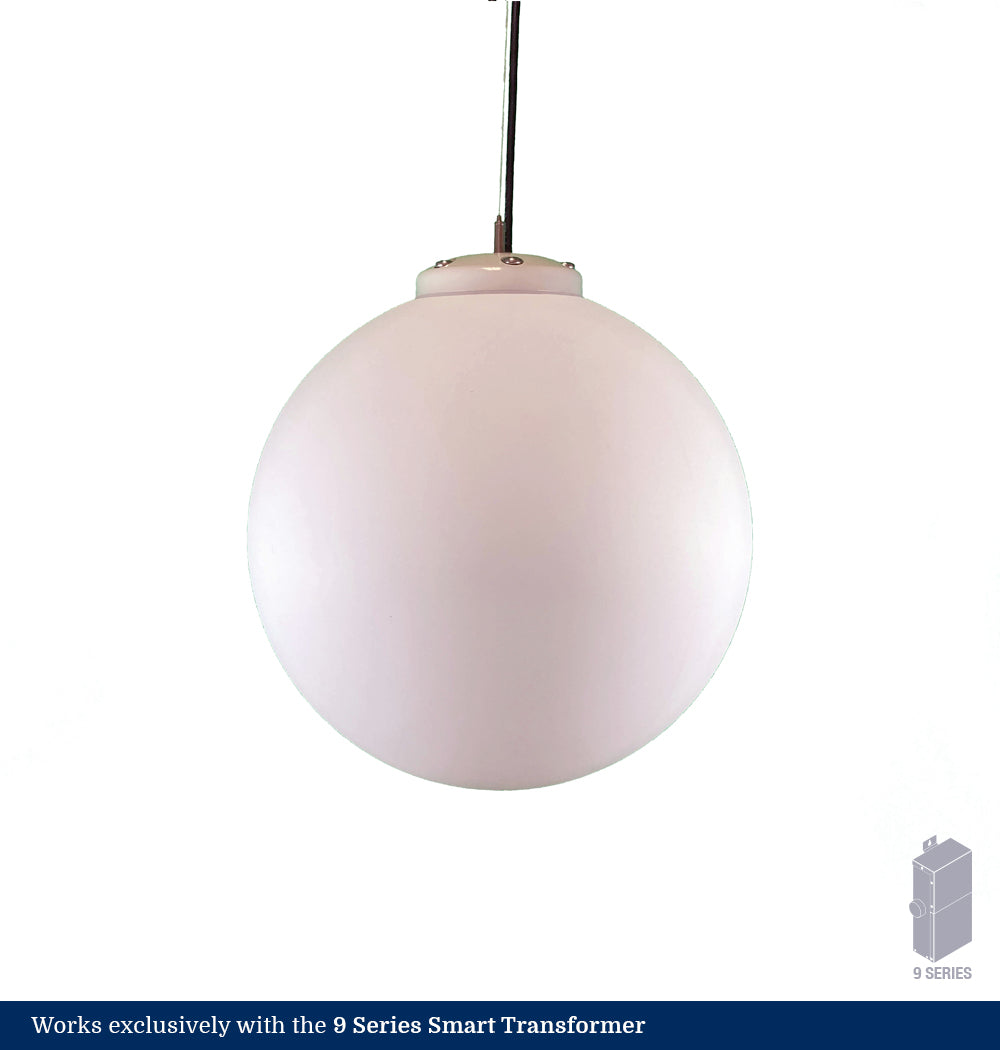
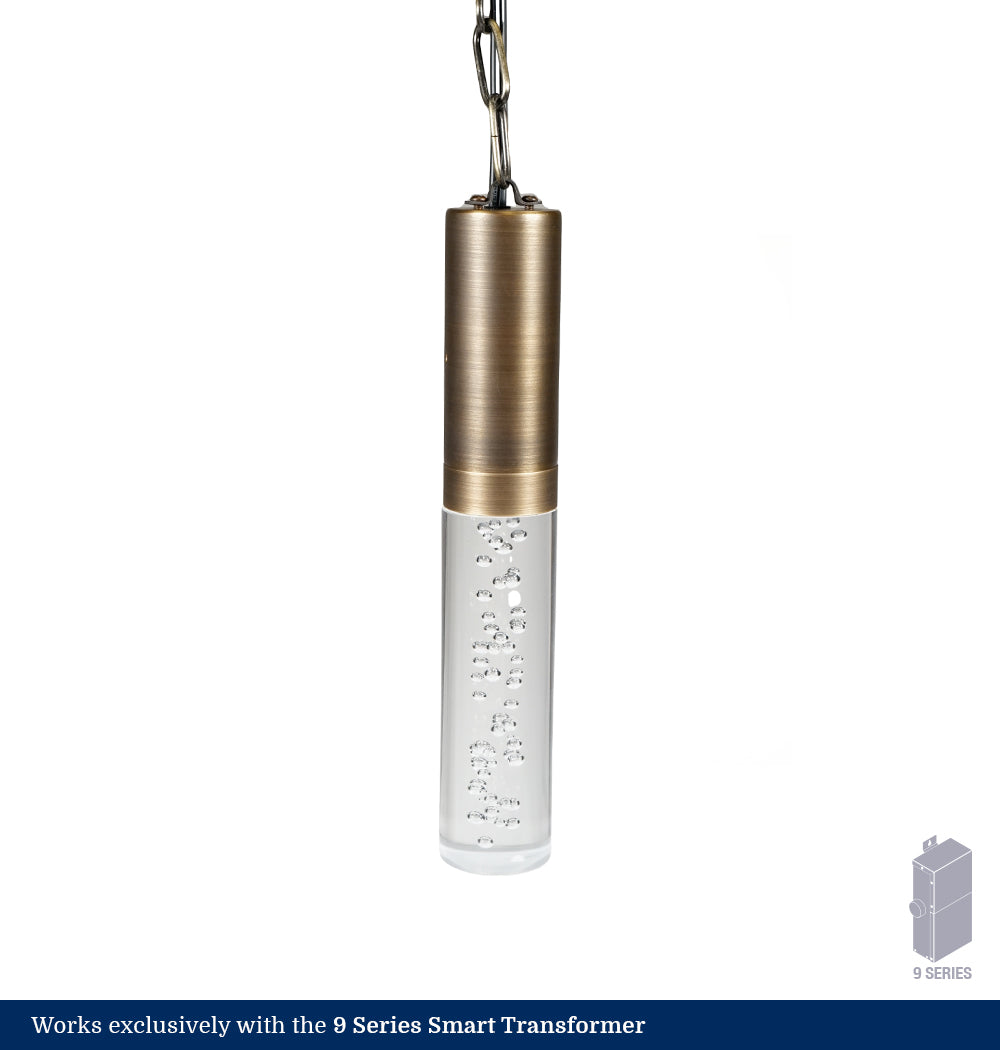
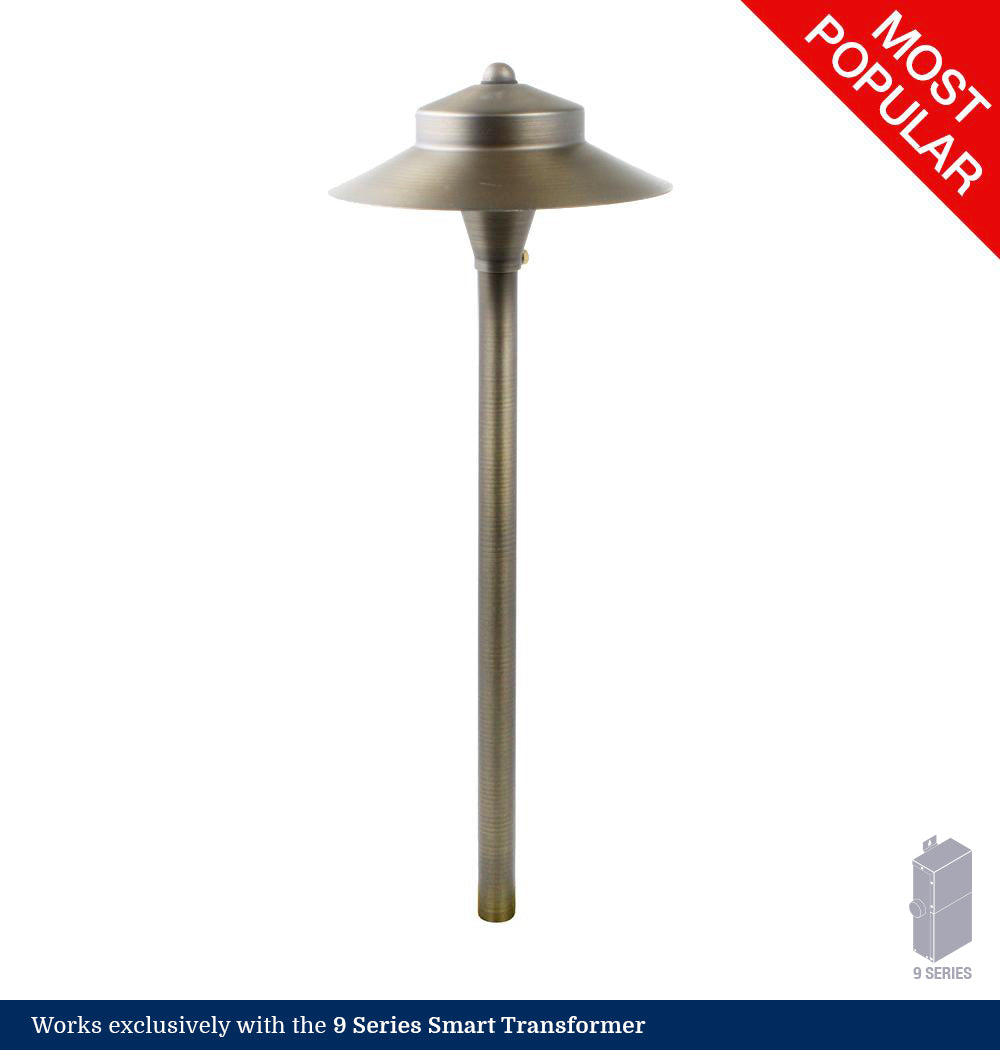
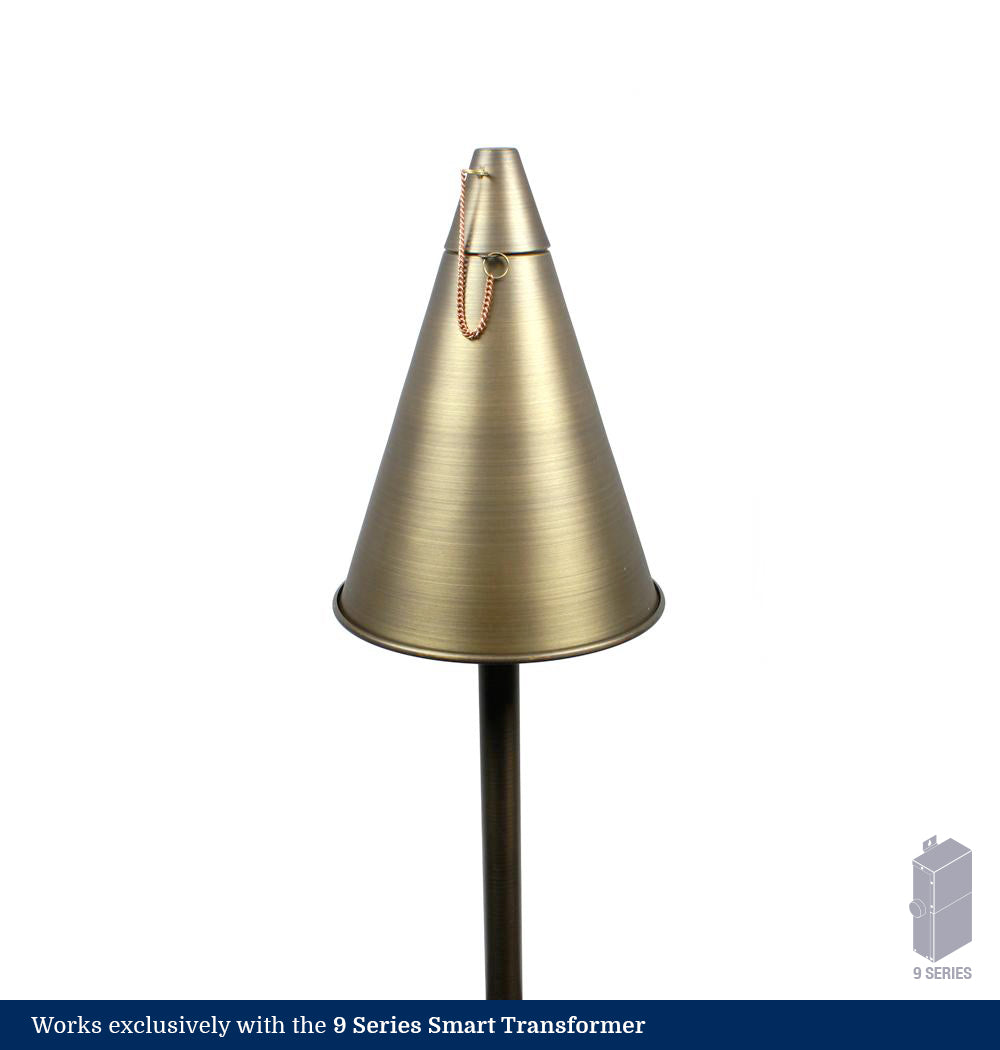
Discover the best-selling (12V) low-voltage landscape lighting products to enhance your outdoor space. Shop top-rated energy-efficient landscape lighting for beautiful and safe exteriors.

Low voltage LED Landscape lighting is designed to be safe and straightforward, making it accessible for homeowners to install as a do-it-yourself project. With our Helpful Videos offer how-to videos and articles, we are dedicated to ensuring a seamless installation experience. How to install Low Voltage Landscape Lighting? The essential step is to begin your project by creating a comprehensive outdoor lighting installation plan, which greatly assists in preventing errors. It's a simple process—start by sketching your property layout, determining the transformer and fixture locations, and planning your wire runs accordingly.
Installing low voltage landscape lighting is a straightforward process that enhances the beauty and safety of your outdoor spaces. Here are the basic steps:
If you want more details on how to install, watch some of our how-to tutorials on YouTube for step-by-step guidance.
Wiring low voltage landscape lighting is a simple and safe process that can greatly enhance the look of your outdoor space. Follow these steps for a successful installation:
For more detailed wiring instructions, check out our how-to videos on YouTube or consult with a professional for expert guidance. Properly wired low voltage landscape lighting not only beautifies your home but also ensures long-lasting performance and safety.
How to Splice Low Voltage Landscape Lighting Using Haven Connector Pack
Splicing your low voltage landscape lighting is easy and secure when using the Haven Connector Pack, which includes waterproof connectors for outdoor installations. Follow these steps:
With these steps, your low voltage landscape lighting will be securely spliced and fully protected against the elements. For more details, watch our how-to tutorials on YouTube to see the process in action.
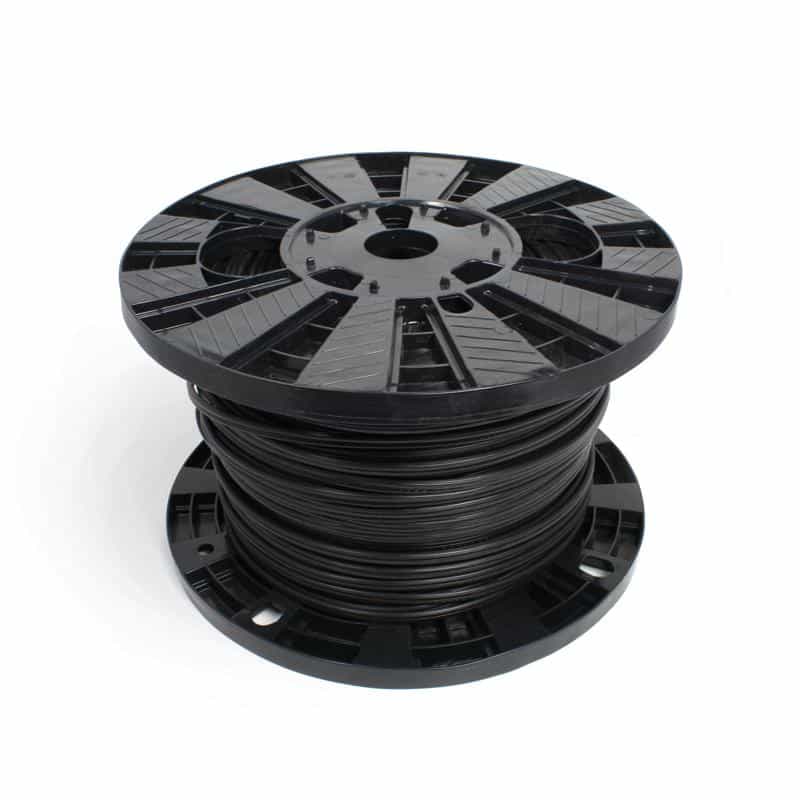
For low voltage landscape lighting, the recommended wire gauge depends on the length of the run and the total wattage of the lights. Here's a quick guide:
To sum it up:
Make sure to always consult with a professional or refer to your Haven Lighting product manuals for specific recommendations based on your system's requirements.
The cost to install low voltage landscape lighting can vary widely depending on several factors, such as the size of your yard, the number of lights, and whether you choose to hire a professional or do it yourself.
If you're interested in a customized installation quote, contact us below.
Running low voltage landscape lighting is an easy, energy-efficient way to enhance your outdoor space. Here’s a step-by-step guide:
For more detailed instructions, watch our how-to tutorials on YouTube or consult a professional installer. With low voltage landscape lighting, you get the perfect combination of safety, efficiency, and stunning curb appeal.